S3 Explorer connects to MINIO
Start S3 Explorer
After the program opens normally, Select Accounts -> Add New Account from the menu bar:
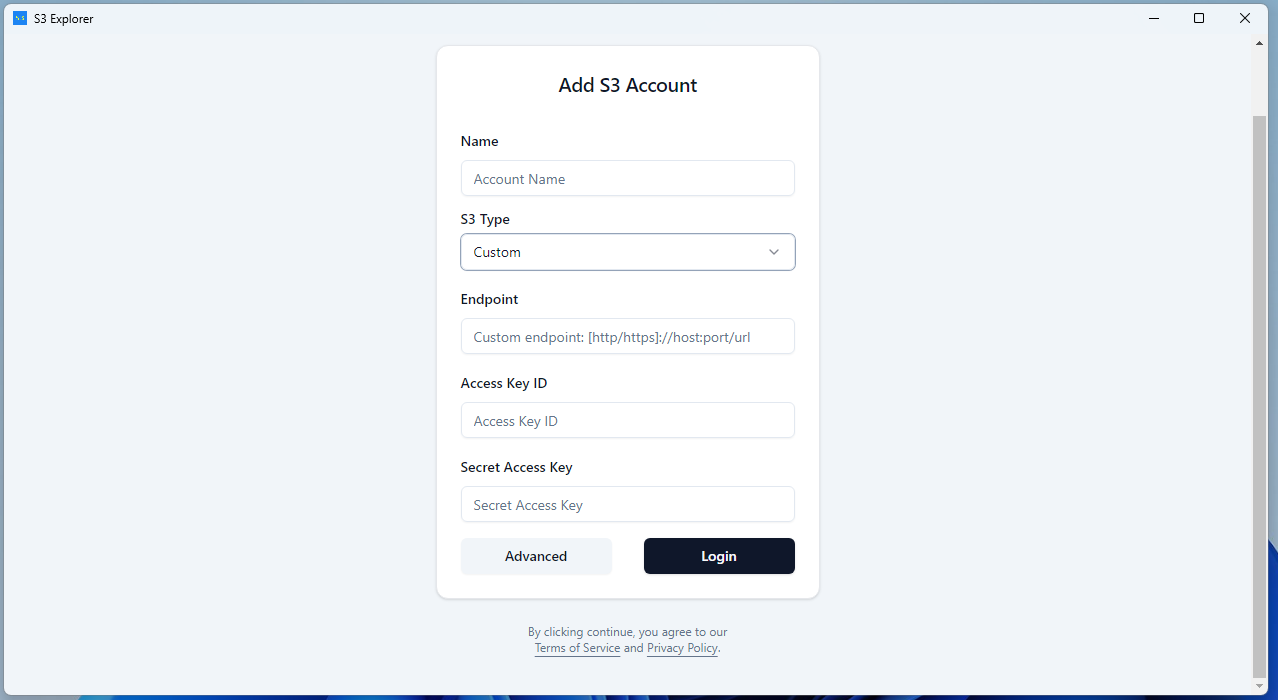
Name
Account Name. You can give your account a name that is easy to remember.
Chinese or pure English characters are supported. The use of special characters is not recommended.
S3 Type
Selecting Custom in this dropdown menu is for connecting to the MINIO server.
Endpoint
Enter your server's IP address or domain name here.
For example, my test MINIO server runs on a machine on the local network, 192.168.1.8, listening on port 9000 (the default port number). So, I would fill in the following here:
192.168.1.8:9000
Access Key ID and Secret Access Key
This is the account information you use to access your files on MINIO.。
For example, my configuration information is as follows:

那么这里的 Access Key ID 和 Secret Access Key 便分别填写:
Access Key ID: minioadminSecret Access Key: minioadmin
Your account information will be saved to your local configuration file.
To prevent your account information from being leaked, the
Secret Access Keyis stored in encrypted form.We will not upload your configuration information to any server; it only exists on your local computer.
Advanced
For self-built MINIO servers, you need to select the advanced options here based on your specific configuration.
Clicking the Advanced button on the page will bring up the following dialog:

Region
My self-hosted MINIO server here does not have any Region configured, so there is no need to fill it in here; just keep the default value.
Use TLS
My server has TLS enabled, so I need to enable this configuration.
If your server is not configured with TLS, then you need to turn off this option.
Virtual Hosting Path
My server uses IP address in the configuration, so it cannot be accessed using the Virtual Hosting Path method. Therefore, I am disabling this option here.
After completing the above configuration, click Save to save the configuration.
Login
Once the above information is configured correctly, click the Login button. After successfully logging in, you can start working with your files.
The connection has been successfully established. You can now begin your usage journey!